
Recently, I was struggling with connecting my DJI Mavic Pro with the remote controller. So I went online and started finding solutions for the issue. As I was finding solutions, I found that many users are also facing the same issue.
Therefore I thought it would be nice to write an article about the issue and solutions that I followed to fix the issue. Hope this article would help other Mavic Pro users who are also struggling with the same issue.
Why Won’t Mavic Pro Connect To The Controller?
In most cases, DJI Mavic Pro won’t connect to the controller when the Mavic Pro aircraft is not paired or unpaired from the remote controller. Other than that, low battery power and firmware issues also cause this issue.
- Low Battery power. The aircraft and controller won’t be able to connect together if they are not sufficiently charged.
- Unlinked DJI Mavic Pro aircraft. If your Mavic Pro aircraft is blinking yellow, that means it is unpaired from the controller.
- Different firmware versions on the DJI Mavic Pro aircraft and controller. The aircraft and controller need to be on equal versions of firmware in order to connect them properly.
- DJI Mavic Pro firmware issues.
- Mavic Pro aircraft or remote controller replacement. If you replaced the remote controller or the aircraft, you need to pair them before using them.
- Faulty or damaged DJI Mavic Pro aircraft or remote controller.
How to fix DJI Mavic Pro not connecting to controller issue.
Follow the below step-by-step process to fix the DJI Mavic Pro connecting issue with the remote controller.
Step 1: Charge both the DJI Mavic Pro aircraft and the remote controller is charged.
Before going to further steps make sure to get ready the DJI Mavic Pro aircraft and remote controller batteries charged fully or to a sufficient level. Unless the system would refuse to start or process those operations.
Step 2: Update the DJI Mavic Pro aircraft and remote controller.
- Download and install the DJI Assistant 2 application to the PC.
- Open DJI Assistant 2 application.
- Power on the DJI Mavic Pro aircraft and connect to the PC using the USB cable.
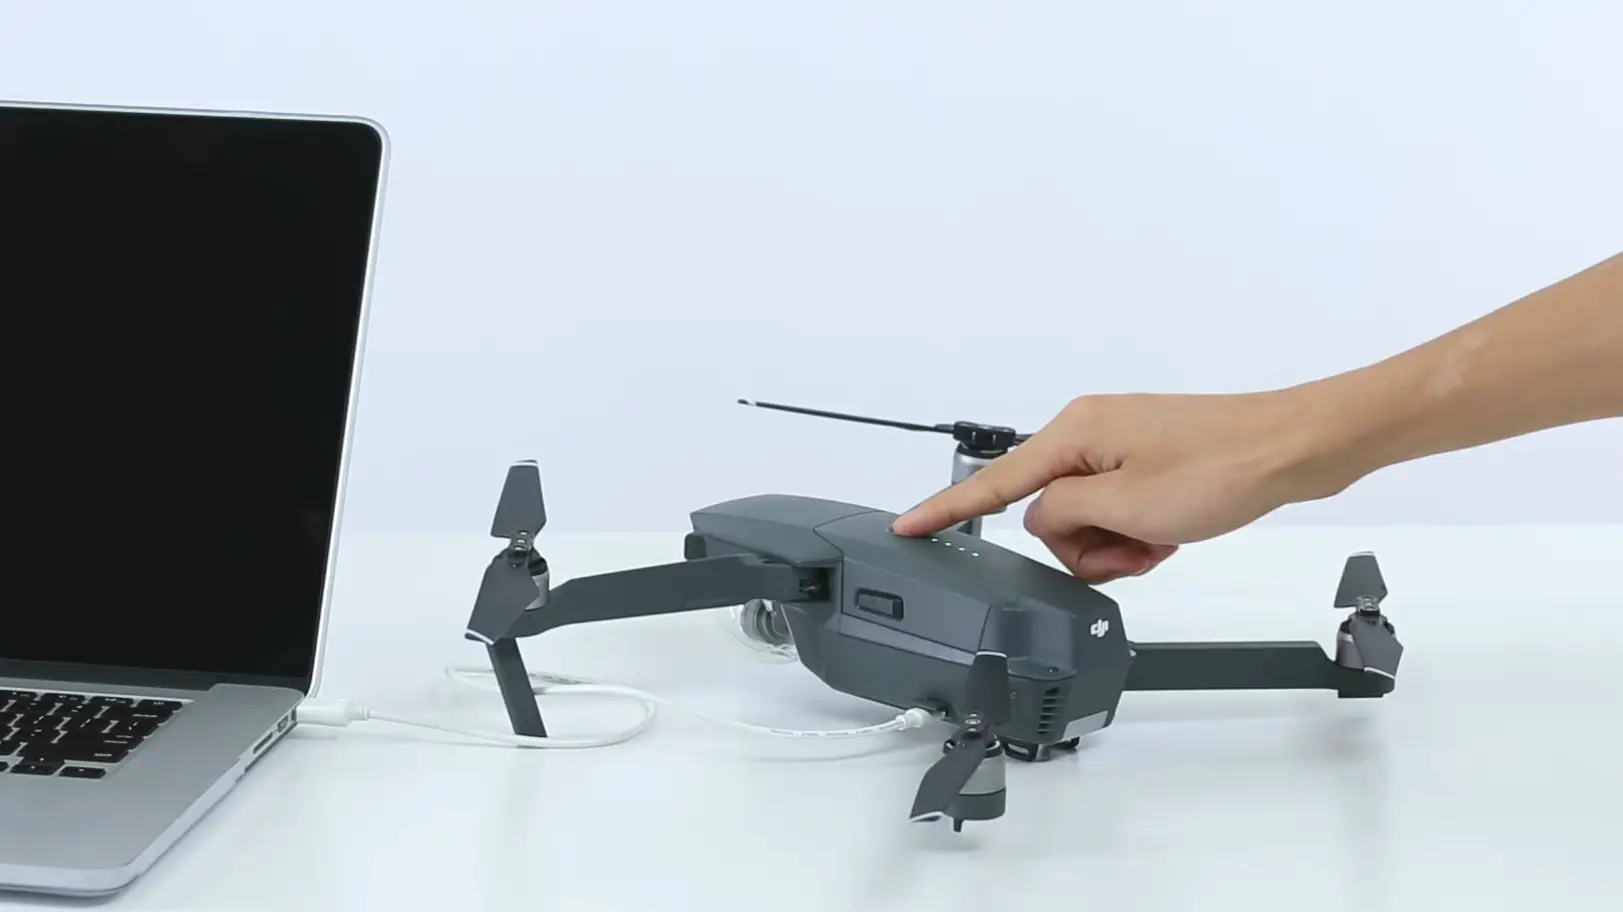
- Then click on the popped Mavic Pro box on the screen.
- Enter your DJI account information that is bound to your Mavic Pro.
- Then enter the “Firmware Update” panel
- Click on the “Upgrade” or “Refresh” button in front of the latest firmware. Or if you decide to downgrade to a recent firmware click on the “Downgrade” button in front of the recent firmware
- Then click “Start Update”.
- Wait until the firmware is completely downloaded and installed.
- Once the aircraft is updated, unplug from the PC and restart the aircraft.
- Next power on the remote controller and connect it to the PC.
- Select “GND for Mavic Pro”.
- Then click on the update/downgrade/refresh button in front of the firmware that the aircraft updated to.
- Then click “Start Update”.
- Wait until the firmware is completely downloaded and installed.
- Once the remote controller is updated, unplug it from the PC and restart it.
Step 3: Link the Mavic Pro aircraft to the remote controller.
- Connect the remote controller to the smartphone/tablet.
- Power on the remote controller and Mavic Pro aircraft.
- Open the small door (where you usually put the SD card) on the right side of the Mavic pro. Then You’ll find a small black button.
- Press that cute little button using a screwdriver or something possible. After pressing that the indicator on the side will turn red.
- Open the DJI GO 4 app and enter the camera view. Tap on the three dots in the right top corner and tap the remote controller icon.
- Then scroll down and tap “Linking RC”.
- Then select “Primary controller” and hit ok.
- Within 59 seconds the Mavic Pro aircraft would be linked to the controller.
Step 4: Contact DJI or Professionals.
If your DJI Mavic Pro is still not connecting to the remote controller, there must be something wrong with the hardware of the aircraft or the remote controller. So you might need some professional supervision to figure out the issue. The most advisable way to do it is to send the Mavic Pro back to DJI to figure out and fix the issue for you. (Check out the below article instructing for requesting DJI repair online). If you can’t reach DJI, reach out to electronics professionals and get help with fixing the hardware issue.
Read the detailed article: How to get DJI Support to repair/fix your DJI drone issue.