
The remote controller plays a huge role in flying the drone smoothly while giving you the coolest experience throughout the flight. The drone and controller communicate through radio signals and radio signals are sent from the transmitter of the controller and received by the receiver of the drone.
Before receiving the signals from the controller, the drone needs to be paired with the controller. Because the drone needs to know which controller is sending the radio signals to the drone. Usually, they are already paired when you get the drone.
Some Days, when I get my drone and am ready for a flight, my drone is not connecting to the controller. So I did some research on the internet about it and I found some common reasons and some fixes for that. In this article, I would like to share what I found in my research.
Why my drone won’t connect to the controller?
In most cases, the drone won’t connect to the controller when the controller is not linked/ paired to the drone properly. Besides that, If you own a DJI drone, with outdated firmware of the remote controller or different firmware versions installed in the drone and the remote controller, also causes this issue.
1. Low battery
Sufficient battery power is most important to be able to send and receive radio signals successfully and it’s important to save your drone from unexpected crashes. Most drone systems refuse to receive radio signals at a low battery charge. Because low battery power causes a lack of connection between the controller and the lack of connection causes losing control of your drone.
2. Controller was not properly linked
As I mentioned before, controller pairing is essential to connect your drone to the controller. Because the drone needs to figure out which radio signals need to be picked. Usually, when you bought the drone, The remote controller is already paired and synced to the drone. But in some cases, the controller may haven’t paired properly.
3. Software glitches
When I researched, I found that having different firmware update versions installed on the drone and remote controller also causes this issue. DJI Tutorials Youtube channel mentions in every DJI drone review that the drone won’t connect to the remote controller if you have installed different firmwares to them.
Fix Drone Won’t Connect to Controller Problem
So we discussed what are the reasons for the problem and let’s talk about the common solution you can try. These steps would take your drone through proper controller linking which really works for me.
Step 1: Make sure the batteries are fully charged.
- First of all, make sure you have fully charged your drone and the controller.
Step 2: Update the drone and remote controller firmware to the latest version.
- Because your drone does not connect to the remote controller, you have to update its firmware separately. Most of the time, you can update their firmware separately using PC applications for the drone such as DJI Assistant 2.
Step 3: Link/ Pair the remote controller to the drone.
If it’s not, let’s try pairing your drone to the controller. In this step, there is a high chance of solving the problem. According to the things that I found, many users were able to successfully solve this issue after re-pairing/ re-linking the drone with the controller.
Solutions For Specific Drones
Actually, I had this problem with my DJI Mavic pro. So when I did my research to find a solution for that I found that some specific drones are also facing the same problem. Click on your drone from the below list to jump into that part of the article.
- DJI Mavic Pro Drone won’t connect to the controller?
- DJI Air 2S Drone won’t connect to the controller?
- Ryze Tello Drone won’t connect to the controller?
- DJI Phantom 3/Professional/ Standard won’t connect to the controller?
- DJI Phantom 4/Pro/ Advanced Drone won’t connect to the controller?
- DJI Spark won’t connect to the controller?
DJI Mavic Pro Drone won’t connect to the controller?
So As I mentioned I had this problem with my DJI Mavic pro. In my case, the reason was my controller was not paired to the drone properly. So just following these steps, I was able to solve the issue of Mavic pro.
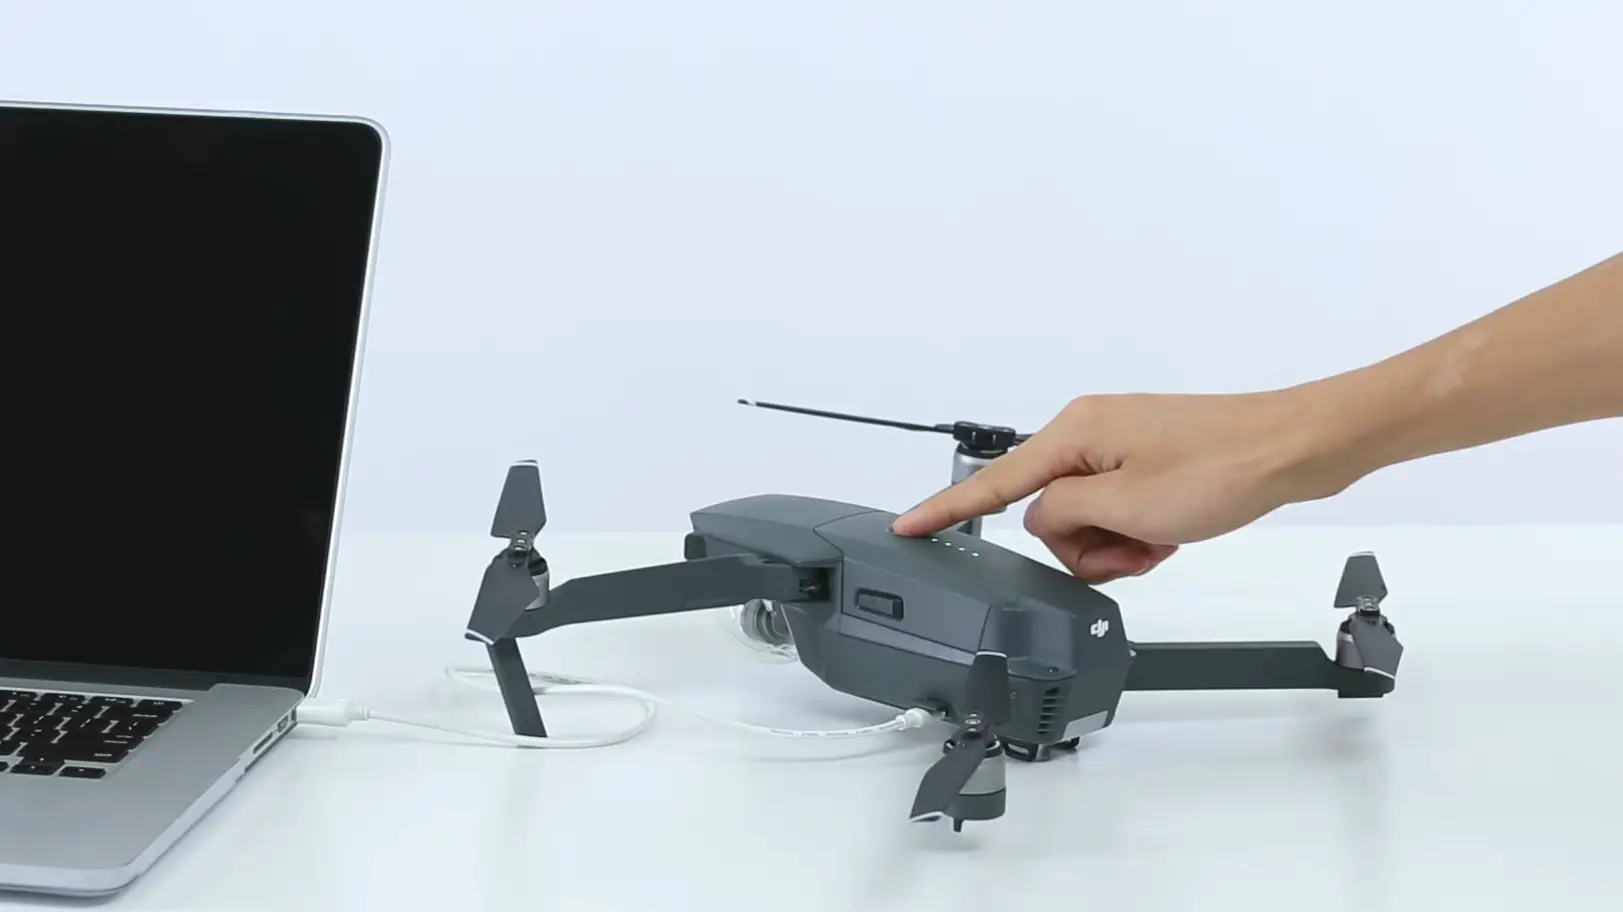
Step 1: Update the DJI Mavic Pro aircraft and remote controller.
- Download and install the DJI Assistant 2 application to the PC.
- Open DJI Assistant 2 application.
- Power on the DJI Mavic Pro aircraft and connect to the PC using the USB cable.
- Then click on the popped Mavic Pro box on the screen.
- Enter your DJI account information that is bound to your Mavic Pro.
- Then enter the “Firmware Update” panel
- Click on the “Upgrade” or “Refresh” button in front of the latest firmware. Or if you decide to downgrade to a recent firmware click on the “Downgrade” button in front of the recent firmware
- Then click “Start Update”.
- Wait until the firmware is completely downloaded and installed.
- Once the aircraft is updated, unplug from the PC and restart the aircraft.
- Next power on the remote controller and connect it to the PC.
- Select “GND for Mavic Pro”.
- Then click on the update/downgrade/refresh button in front of the firmware that the aircraft updated to.
- Then click “Start Update”.
- Wait until the firmware is completely downloaded and installed.
- Once the remote controller is updated, unplug it from the PC and restart it.
Step 2: Link the Mavic Pro aircraft to the remote controller.
- Connect the remote controller to the smartphone/tablet.
- Power on the remote controller and Mavic Pro aircraft.
- Open the small door (where you usually put the SD card) on the right side of the Mavic pro. Then You’ll find a small black button.
- Press that cute little button using a screwdriver or something possible. After pressing that the indicator on the side will turn red.
- Open the DJI GO 4 app and enter the camera view. Tap on the three dots in the right top corner and tap the remote controller icon.
- Then scroll down and tap “Linking RC”.
- Then select “Primary controller” and hit ok.
- Within 59 seconds the Mavic Pro aircraft would be linked to the controller.
DJI Air 2S Drone won’t connect to the controller?
I read more on forms about this problem and I found Some new DJI Air 2S users also face this issue. I found that many users were able to fix the issue after updating the firmware and relinking the drone to the remote controller. Let’s go step-by-step to solve this problem.
Step 1: Update DJI Air 2s Firmware.
- Download and install the DJI Assistant 2 application to the PC.
- Open DJI Assistant 2 application.
- Log in to the DJI account that is bound to your DJI Mavic Air 2.
- Then connect the Mavic Air 2 aircraft to the PC using the USB cable.
- Turn on the aircraft. Then click on the DJI Air 2 box pops on the DJI Assistant 2 application.
- Then you’ll find all the recent and latest firmware to the DJI Mavic Air 2.
- Click on the “Upgrade” or “Refresh” button in front of the latest firmware. Or if you decide to downgrade the firmware click “Downgrade” on the recent firmware.
- Then click on “Start Update”.
- Wait until the firmware is completely downloaded and installed.
- Once the aircraft is updated, it would restart automatically.
- Next power on the remote controller and connect it to the PC.
- Select “RC for Mavic Air 2”.
- Then click on the update/downgrade/refresh button in front of the firmware that the aircraft updated to.
- Then click “Start Update”.
- Wait until the firmware is completely downloaded and installed.
- Once the remote controller is updated, it would restart automatically.
Step 2: Link the DJI Air 2s aircraft to the remote controller.
- Connect the mobile device to the remote controller.
- Power on the DJI Air 2s aircraft.
- Launch the DJI Fly app and tap “Connect Aircraft”.
- Choose DJI Air 2s.
- Then tap “camera view” at the top right corner.
- Then tap three dots at the top right corner and enter “Control” settings.
- Scroll down and tap “Linking Remote Controller/ Re-Pair to Aircraft”. Then the remote controller would start beeping and the indicator LEDs would blink in sequence.
- Press and hold the aircraft power button for about 4 seconds until the aircraft beeps.
- Then wait for a few seconds. Once the remote controller indicators and aircraft battery indicators stop blinking, the aircraft is linked to the RC successfully.
Ryze Tello Drone won’t connect to the controller?
I found that many Ryze Tello users are also unable to connect the drone to the Tello app. Follow these simple steps to solve the problem. It’s so simple to solve the problem, just a few taps away.
- First, turn on the Airplane mode on the smartphone and turn on the Wifi.
- Then try connecting the Ryze Tello drone and the drone will be connected successfully.
If the problem is not solved yet, try these steps.
- Uninstall the Tello app and reinstall the app.
- Then forget the Tello drone wifi connection on your smartphone.
- Power on the Tello drone and wait until it flashes yellow rapidly. Then press and hold the power button approximately for 5 seconds until the indicators go off. Once you did that, The Wi-Fi SSID and password will be reset to the factory settings (no password is set by default).
- Then power on the Tello drone and try connecting the Tello.
DJI Phantom 3/Professional/ Standard won’t connect to the controller?
- First, turn on the Phantom 3 and the controller.
- Connect the phone to the remote controller via Wifi.
- Open the DJI GO app and select the Aircraft and tap camera view.
- Go to the main menu and go to remote controller settings. Then scroll down and tap on the “Linking RC”. Then the remote controller will start beeping.
- Then tap “OK”.
- Then find the linking button located behind the camera and battery near to the little LED indicator of Phantom 3. Use a pin or screwdriver and press that button.
- Then the controller would stop beeping.
- Phantom 3 would connect to the controller successfully.
DJI Phantom 4/Pro/ Advanced Drone won’t connect to the controller?
- Launch the DJI GO 4 app and enter the camera view.
- Tap on the three dots at the right top corner.
- Then tap on the RC icon to enter remote controller settings. Scroll down and tap “Linking Remote Controller”.
- Tap “OK”. The RC would start beeping and the indicator would flash blue.
- Find the hole between the SD card slot and the USB port.
- Press the button using a pen/screwdriver or a suitable tool. Hold it for 2 seconds and release it.
- Once the beeping stops and the RC indicator turns green, the aircraft is successfully linked to the RC.
DJI Spark won’t connect to the controller?
Step 1: Reset Spark aircraft Wifi Settings.
- Power on the remote controller and the aircraft.
- Connect the RC to the mobile device via Wifi.
- Then press and hold the power button for 9 seconds. Then release once you heard 3 beeps.
- Now the Wifi settings are reset, now go to on Wifi and scan. Now you’ll see the Spark aircraft wifi.
Step 2: Pair the Spark aircraft with the remote controller.
- Power on the Spark aircraft and the remote controller.
- Connect the mobile device to the remote controller via Wifi.
- Press and hold the aircraft power button for 3 seconds. Then release once you heard the beep.
- Open DJI GO 4 app. Then tap “RC connected”.
- Then choose “Remote controller” from the above tab. Tap “Remote Controller Linking”. The RC would start beeping.
- Place the RC near the aircraft.
- Once the beeping stops, the aircraft is linked to the remote controller.
Conclusion
Most of the time, the drone won’t connect to the controller because of software glitches, outdated firmware, and an unlinked drone. Re-Linking the drone, and updating both the remote controller and drone firmware would fix drone connecting issues. Also, charge your drone and controller 100% when you usually use them.