
In this article, we will troubleshoot the DJI Air 2s not connecting to controller issue. I have seen many DJI Air 2s users asking for solutions for this issue in DJI forums and on social media. So as an active member of the drone community I back to research this issue.
I also have faced this issue with my DJI drones and it’s common to almost other DJI drones including DJI Air 2s. After going through conversations, forums, articles, and videos I was able to figure out the reasons for the DJI Air 2s connection issue and how to fix them. Many DJI Air 2s users have faced this issue and were able to connect the Air 2s to the controller after following the below steps.
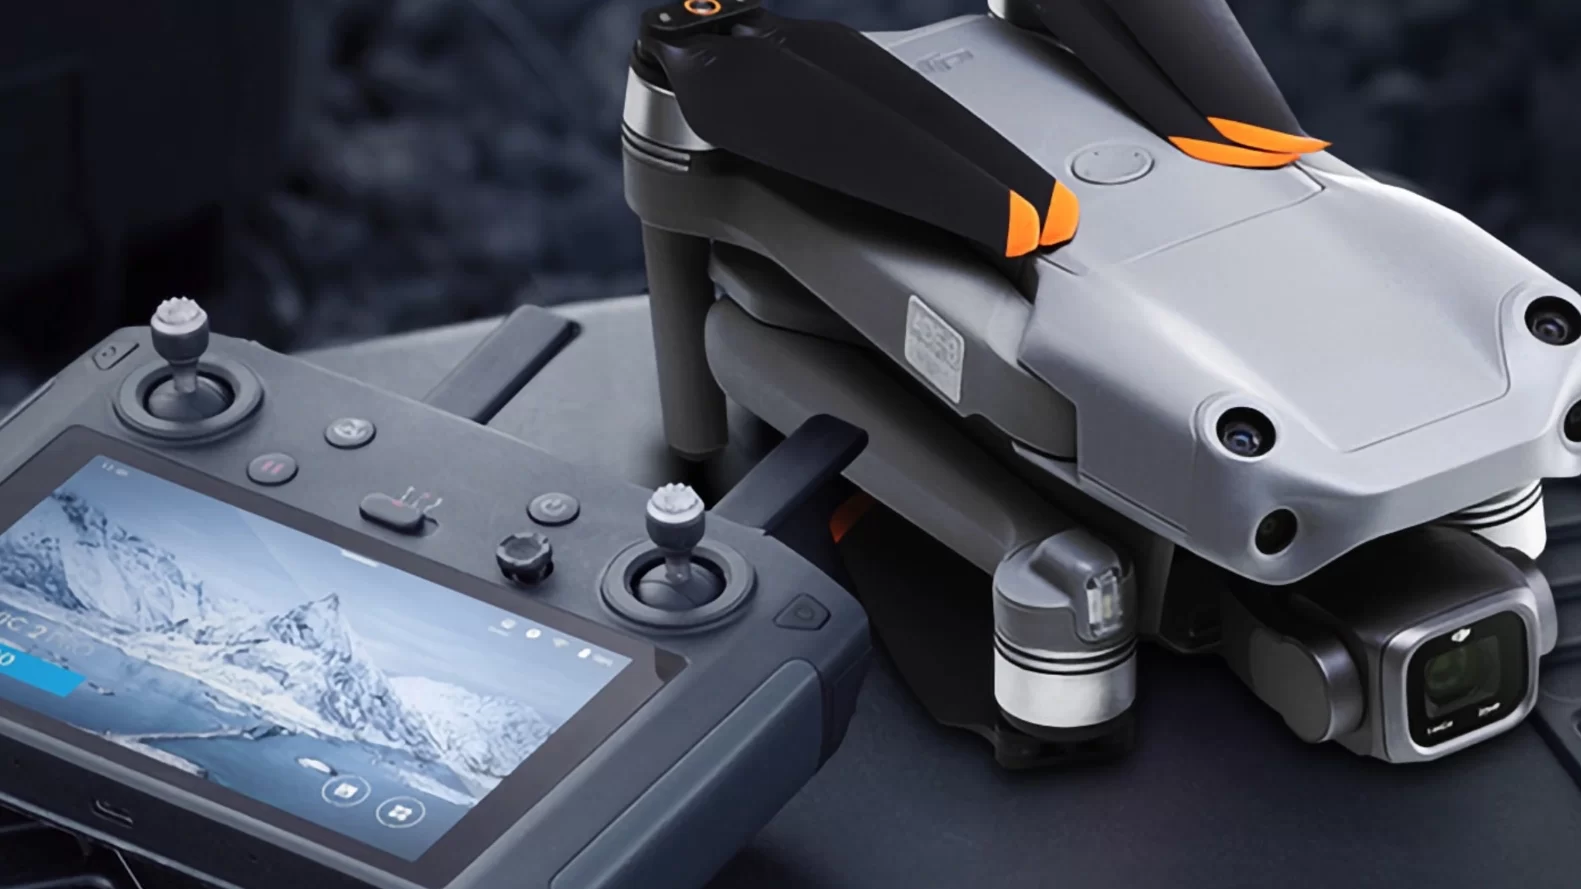
Why is DJI Air 2s not connecting to the controller?
Let’s briefly understand why your DJI Air 2s not connecting to the controller.
- Low Battery power. The aircraft and controller won’t be able to connect together if they are not sufficiently charged.
- Unlinked DJI Air 2s aircraft. If your DJI Air 2s aircraft is blinking yellow, that means it is unpaired from the controller. The Air 2s aircraft needs to be paired to the controller before connecting them.
- Different firmware versions on the DJI Air 2s aircraft and controller. The aircraft and controller need to be on equal versions of firmware in order to connect them properly.
- DJI Air 2s firmware issues.
- Faulty or damaged DJI Air 2s aircraft or remote controller.
How to Fix DJI Air 2s not connecting to the controller.
Next, let’s go through the step-by-step process to fix the DJI Air 2s connection issue.
1. Charge the DJI Air 2s aircraft and remote controller to a sufficient level.
Make sure to charge the aircraft and controller fully or to a sufficient level before connecting to the remote controller.
2. Pair the DJI Air 2s aircraft with the remote controller.
If your DJI Air 2s aircraft’s indicators are blinking yellow, the aircraft needs to be paired to the controller. Let’s see how to pair the aircraft to the controller properly.
- Visit the DJI Downloads center and download and install the DJI Fly app. If you are IOS user click on the IOS icon and the DJI Fly app would be opened in Appstore. Click on the “GET” button and install the app. If you are an Android user, click on the android icon. Then the “apk” file would be downloaded to the download directory. Once it is downloaded visit the downloads directory and click on the downloaded “apk” file. Follow prompted steps and install the DJI Fly app.
- Connect the smart device to the remote controller.
- Power on the DJI Air 2s aircraft and controller. To turn on the aircraft press down the power button on the battery and hold it for about 2 seconds. Then the LEDs on the battery would turn on and stay lit. To power on the remote controller, press and hold its power button for 2 seconds.
- Then launch the DJI Fly app on the smart device.
- Click on the “Connection Guide” button on the bottom right.
- Choose DJI Air 2s and enter the Camera view.
- Tap on the three dots at the top right corner and enter camera settings.
- Then tap the “Control” button and enter the control section. Scroll down on the list and tap on “Connect to aircraft”. Once you did that the remote controller would start beeping.
- Take the DJI Air 2s aircraft and hold down the power button for 4 seconds. Then the aircraft would be paired to the controller successfully.
- After they are paired, the DJI Air 2s aircraft would connect to the controller.
If this step didn’t help with troubleshooting the issue, let’s go to the next step.
3. Update the DJI Air 2s firmware using DJI Assistant 2.
Next, we are going to update the DJI Air 2s firmware. If glitched or outdated firmware this would help you to fix the issue. Also if your aircraft’s and controller’s firmware are on different firmware, this step would help with updating them to equal firmware.
Make sure to use DJI Assistant 2 to update DJI Air 2’s firmware. It would low the risk of having glitched firmware.
- Download and install DJI Assistant 2 to the PC.
- Connect the DJI Air 2s to the PC using the USB cable.
- Turn on the DJI Air 2s.
- Open DJI Assistant 2 application and log in to your DJI account.
- Choose DJI Air 2s and click on the “Firmware Updates” on the left panel. Then click on the “Upgrade” option.
- Click on “Start Update” and wait until the firmware is downloaded and installed.
- Then update the remote controller’s firmware by following the same steps with connecting the remote controller to the PC. It’s essential to update the Air 2s aircraft and remote controller firmware to an equal version of firmware. Unless they won’t connect together.
- Then power on the aircraft and remote controller. If the aircraft is blinking yellow follow the steps 2 above and pair them.
4. Contact DJI Support.
Read the detailed article: How to get DJI Support to repair/fix your DJI drone issue.
If your DJI Air 2s is still not connecting to the remote controller there must be a hardware issue with the aircraft or remote controller. If you are having this issue just after a crash or first flight the aircraft and unable to fix the issue after following the above steps you would have to contact DJI or professionals to fix the issue.
Sometimes you would have to replace the remote controller or the unit. Contacting DJI would help with replacing or repairing the unit. If you can’t reach DJI, reach out to electronics professionals and get help with fixing the hardware issue.