
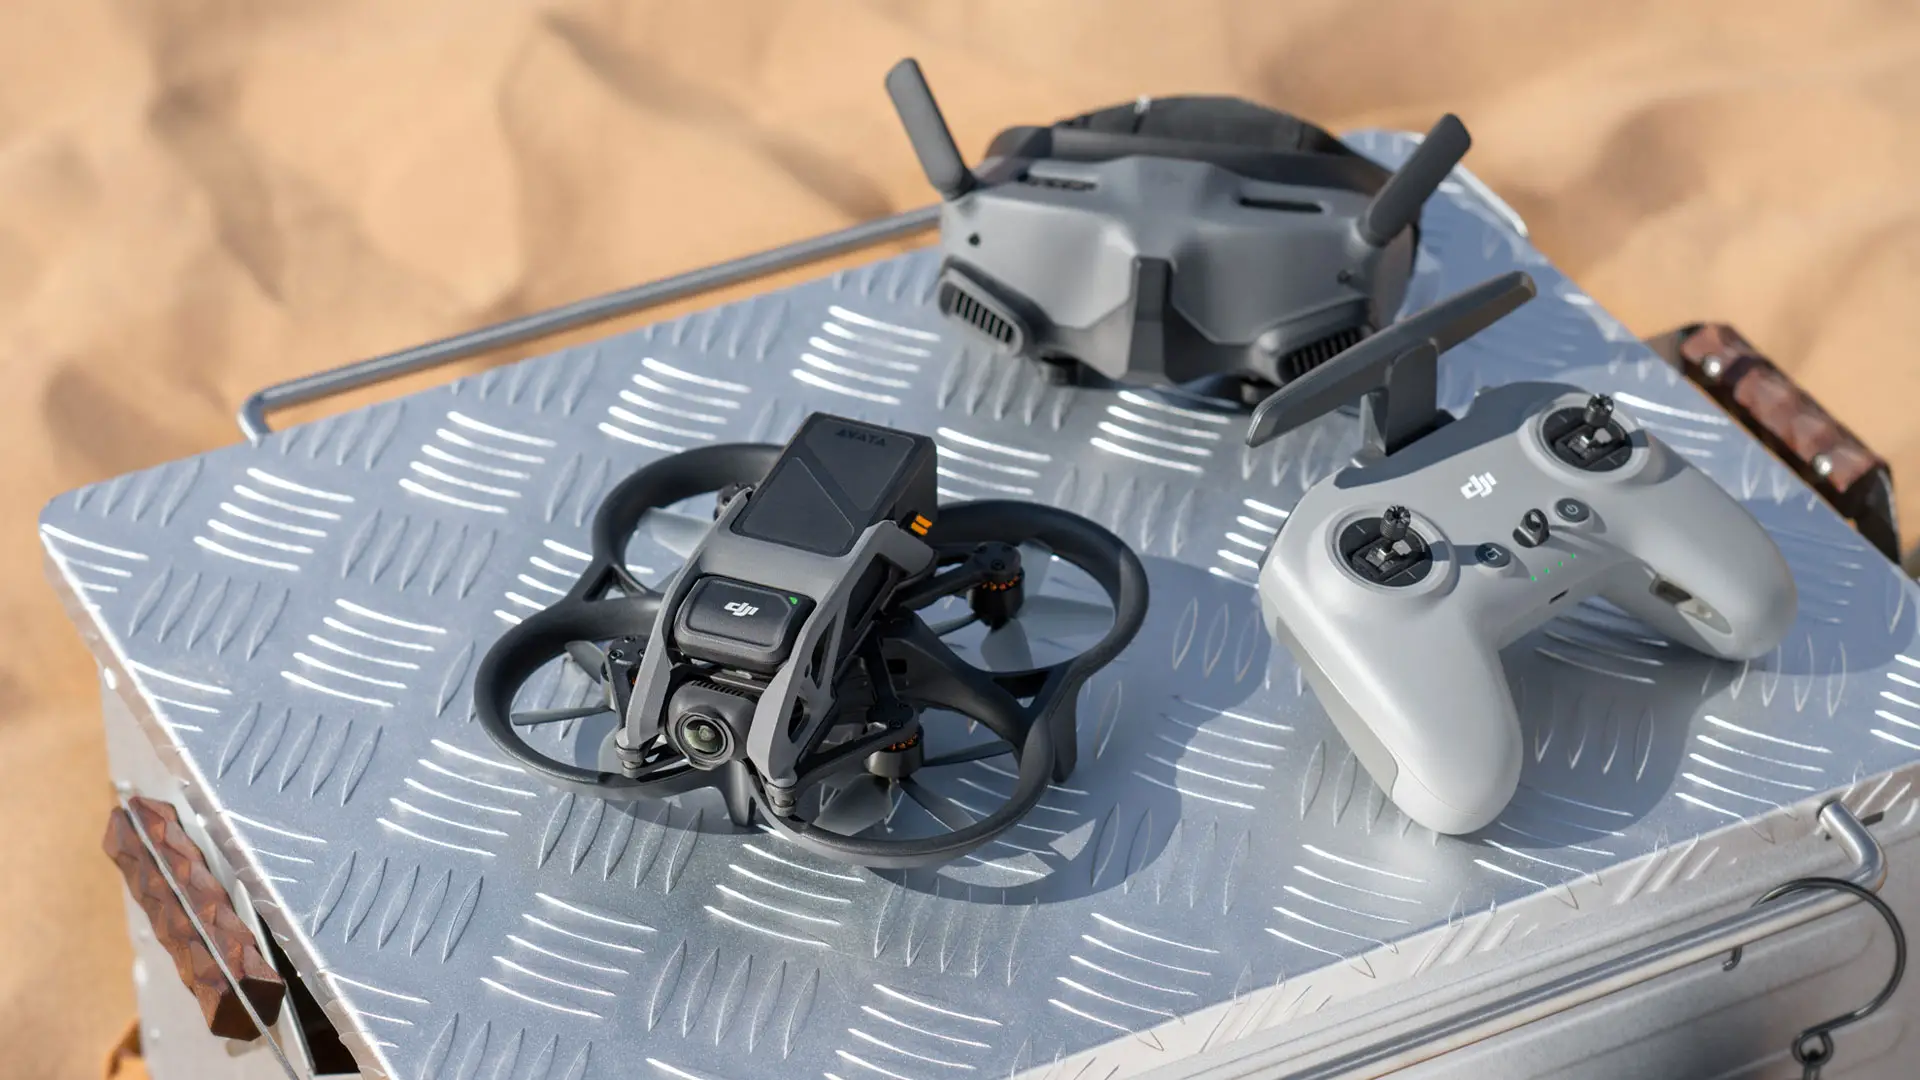
DJI Avata comes with a motion controller and DJI Goggles. Because DJI Avata comes with a motion controller, users can’t do freestyle flying and acrobats using that. So users buy a DJI FPV remote controller separately or use the FPV remote controller of the DJI FPV drone. By using DJI FPV remote controller instead of a motion controller, users can do freestyle, dives, and acrobats.
But in these few weeks, I have seen users reporting DJI Avata not connecting to the FPV controller and asking for solutions. As an active member of the drone community, I’m here to explain you why your DJI Avata not connecting to the FPV controller and how to troubleshoot the issue and connect them.
Why is DJI Avata not connecting to the DJI FPV controller?
Usually, DJI Avata is not connecting to the FPV controller because of the FPV controller’s outdated firmware. The FPV controller is came before DJI Avata and it’s currently installed firmware is not compatible with the DJI Avata.
1. Outdated DJI FPV controller firmware.
DJI Avata is the latest drone in 2022 from DJI. The FPV controller which is created for the DJI FPV came out before the DJI Avata and its current installed firmware doesn’t support the DJI Avata, the latest DJI drone. So the DJI FPV controller’s latest firmware which supports DJI Avata is out now updating the FPV controller’s firmware to the latest firmware could help troubleshoot the issue. We would go through those steps in the below section.
2. Low battery power.
If the DJI Avata drone or the FPV controller has low battery power, they won’t be able to pair or connect together. So make sure to charge them at least above 50% before trying to connect.
3. Faulty FPV controller.
First of all, this is a very rare scenario. I’m sure you would be able to fix this issue after updating the FPV controller’s firmware. If you’re unable to connect the FPV controller to the Avata even after updating its firmware, the controller might be faulty.
How to fix DJI Avata not connecting to the DJI FPV controller issue.
Now, I’ll walk you through step by step process of fixing this issue. So keep following these steps in sequence and in the end, you would be able to fix the issue and connect the Avata to the FPV controller.
Step 1: Charge the DJI Avata and FPV controller fully or to a sufficient level.
Before going further steps, make sure to ready the DJI Avata and the FPV controller with full or sufficient battery power.
Step 2: Update the DJI FPV controller’s firmware to the latest version.
You can update the DJI FPV controller’s firmware through DJI Assistant 2 for FPV or the DJI Fly app.
Update DJI FPV controller firmware using DJI Assistant 2.
If you bought the DJI FPV controller separately for the DJI Avata, follow these steps to update the DJI FPV controller’s firmware.
- Download and install the DJI Assistant 2 (DJI FPV Series) application to the PC.
- Then launch the DJI Assistant 2 on the PC.
- Power on the DJI FPV remote controller and connect it to the PC using a USB-C cable. Once it is connected the DJI Assistant 2 would detect the controller and show it on the application.
- Then click on that popped DJI FPV controller box in the DJI Assistant 2 application.
- Then you’ll be entered into the “Firmware Update” tab of the remote controller. Here you’ll find all the latest and previous firmware of the controller.
- You’ll see the “Upgrade” button with the new firmware version that supports the DJI Avata. In this image, there is the “Refresh” button with the new firmware because it’s already updated to the latest firmware. If you haven’t updated the firmware to the latest you would see the “Upgrade” blue button with the new firmware. Click that button. If you also see the “Refresh” option with the latest firmware, click on the “Refresh” button.
- Then click “Start Update” and wait until the firmware is downloaded and installed.
- Once the firmware is updated move to the next step which is binding and connecting the DJI Avata to the DJI FPV controller.
Update DJI FPV controller firmware using DJI Fly app.
If you are using the FPV remote controller from your DJI FPV drone, you can update the FPV controller’s firmware using DJI Fly app.
- Power on the goggles and connect the phone to the goggles using the OTG cable.
- Then power on the DJI FPV aircraft and remote controller.
- Launch the DJI fly app and connect to the DJI Fly app.
- Once the DJI FPV is connected to the DJI Fly app, it would prompt a message on the top left side of the screen informing “New DJI FPV firmware available”.
- Tap the “Install/Update” option of the message. Then wait until it downloads and gets installed. Usually, it would take about 10 minutes. In this process, your whole DJI FPV unit would be updated at once.
- By taping the “More” button you would see updating process and what is updating.
- Once the updating process is done, disconnect the remote controller and power off the whole unit (DJI FPV aircraft, FPV remote controller, goggles).
- Move to the next step which is binding and connecting the DJI Avata to the DJI FPV controller.
Step 3: Bind the FPV controller to the DJI Avata aircraft.
This is the last step and at the end of this step, you would able to connect the DJI FPV remote controller to the Avata without any issue.
- Press the power button and power on the DJI Avata drone.
- Turn on the DJI FPV remote controller.
- Press and hold DJI Avata’s power button for 5 secs. Then Avata’s battery indication LEDs would start to light in a sequence indicating that Avata entered the linking mode.
- Do the same thing with the FPV remote controller. Press and hold the DJI FPV remote controller’s power button for 5 secs. The remote controller would start to beep and its indication LEDs also would light in sequence.
- Place the DJI Avata aircraft and the FPV remote controller closely and wait for 10-15 seconds. Within that period, the DJI FPV remote controller would be bonded to the DJI Avata.
Step 4: Celebrate.
Now you have successfully troubleshot the issue and you won’t have any issue with connecting the FPV controller to the Avata.
If you are still unable to fix the issue,
If you are still struggling with connecting DJI Avata to the remote controller, mate this might be a hardware issue. So it’s better to get help from DJI.
Read the detailed article: How to get DJI Support to repair/fix your DJI drone issue.
- Visit DJI.com and hover the mouse over the “Support” menu. Choose “Request Repair Service Online”.
- Then Choose the “Submit A Repair Request” button.
- Give requested information and keep following the steps to request a repair.
In this process, DJI would collect all the data and analyze them. If it’s a product issue, they would replace or repair it for you.