
DJI Mavic Pro was an impressive member of the DJI Mavic series and was so popular among the drone community. When talking about problems related to DJI Mavic Pro there are some common DJI Mavic Pro problems that users often face.
So in this article, we are talking about what are the common DJI Mavic Pro problems and how to troubleshoot them. This article would be definitely helpful for users to troubleshoot DJI Mavic Pro problems they could face.
Common DJI Mavic Pro Problems.
Here is the list of common DJI Mavic Pro problems. Click on your issue to jump to that part of the article.
- Problem 1: DJI Mavic Pro won’t connect to the controller.
- Problem 2: DJI Mavic Pro won’t calibrate.
- Problem 3: DJI Mavic Pro won’t turn on/ charge.
- Problem 4: DJI Mavic Pro is not stable.
- Problem 5: DJI Mavic Pro won’t take off.
- Problem 6: DJI Mavic pro keeps disconnecting.
- Problem 7: DJI Mavic Pro remote controller keeps beeping.
- Problem 8: DJI Mavic Pro app not working (DJI GO app).
- Problem 9: DJI Mavic Pro GPS not working.
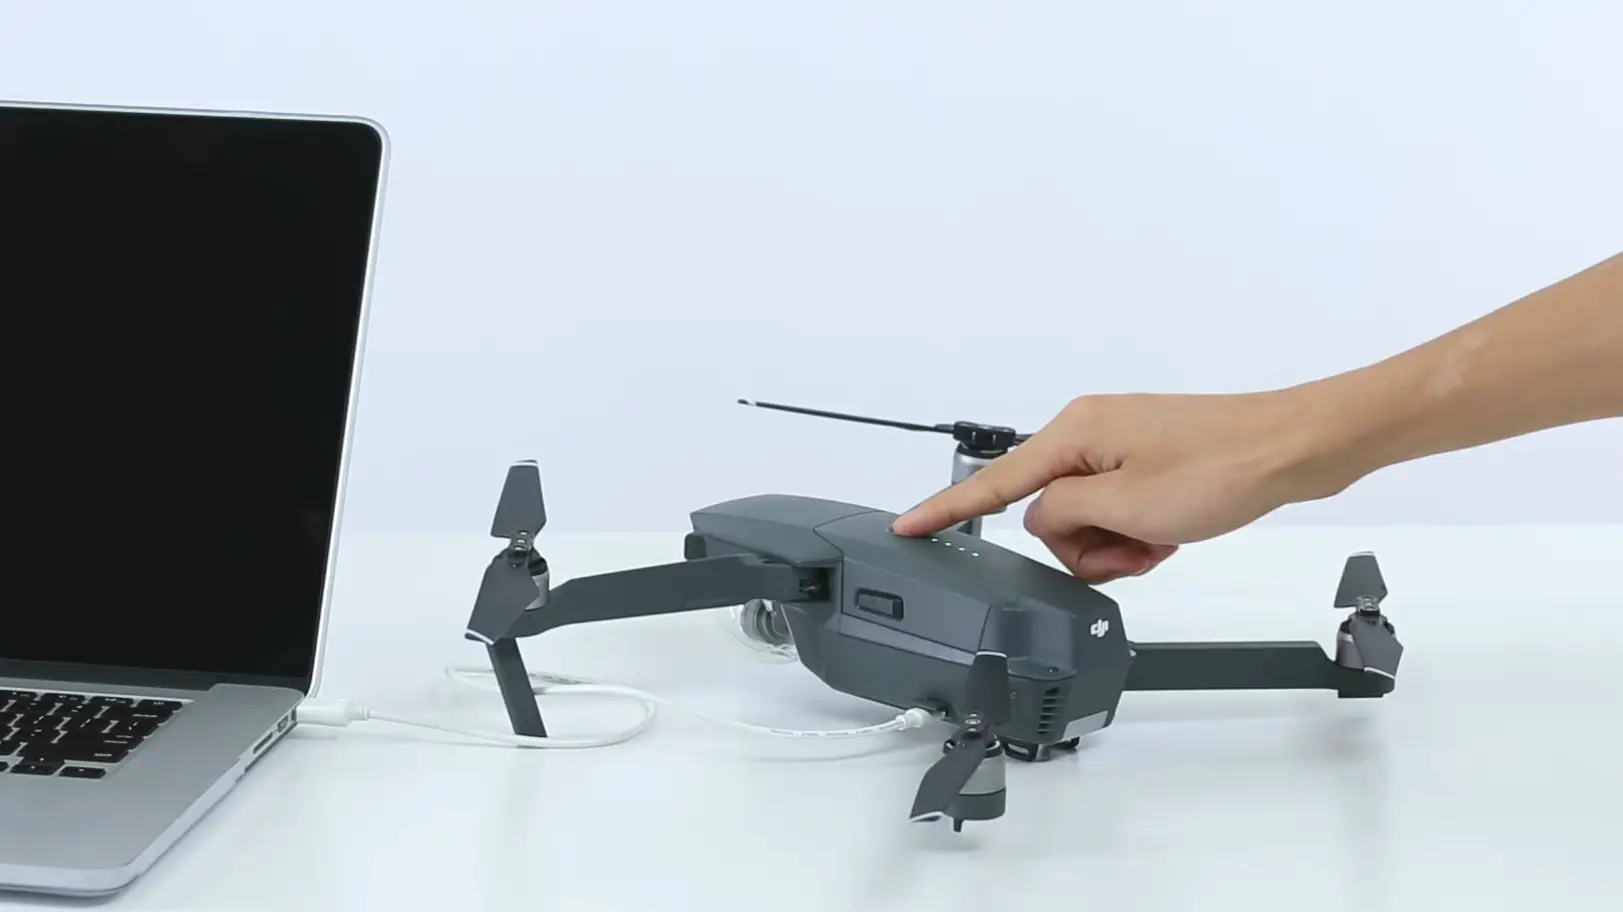
Problem 1: DJI Mavic Pro won’t connect to the controller.
Most of the DJI Mavic Pro is not connecting to the controller when the remote controller is not paired or unpaired to the aircraft. Also installing different firmware versions into the Mavic Pro aircraft and remote controller also cause this kind of situation.
Solution 1: Update the DJI Mavic Pro aircraft and remote controller to the same firmware version.
- Download and install the DJI Assistant 2 application to the PC.
- Open DJI Assistant 2 application.
- Power on the DJI Mavic Pro aircraft and connect to the PC using the USB cable.
- Then click on the popped Mavic Pro box on the screen.
- Enter your DJI account information that is bound to your Mavic Pro.
- Then enter the “Firmware Update” panel
- Click on the “Upgrade” or “Refresh” button in front of the latest firmware. Or if you decide to downgrade to a recent firmware click on the “Downgrade” button in front of the recent firmware
- Then click “Start Update”.
- Wait until the firmware is completely downloaded and installed.
- Once the aircraft is updated, unplug from the PC and restart the aircraft.
- Next power on the remote controller and connect it to the PC.
- Select “GND for Mavic Pro”.
- Then click on the update/downgrade/refresh button in front of the firmware that the aircraft updated to.
- Then click “Start Update”.
- Wait until the firmware is completely downloaded and installed.
- Once the remote controller is updated, unplug it from the PC and restart it.
Solution 2: Link the Mavic Pro aircraft to the remote controller.
- Connect the remote controller to the smartphone/tablet.
- Power on the remote controller and Mavic Pro aircraft.
- Open the small door (where you usually put the SD card) on the right side of the Mavic pro. Then You’ll find a small black button.
- Press that cute little button using a screwdriver or something possible. After pressing that the indicator on the side will turn red.
- Open the DJI GO 4 app and enter the camera view. Tap on the three dots in the right top corner and tap the remote controller icon.
- Then scroll down and tap “Linking RC”.
- Then select “Primary controller” and hit ok.
- Within 59 seconds the Mavic Pro aircraft would be linked to the controller.
Problem 2: DJI Mavic Pro won’t calibrate.
In most cases, DJI Mavic Pro is unable or refuses IMU calibration because of a hardware issue which is most of the time faulty IMU. Besides that low battery power and electromagnetic interference also cause this issue. Also sometimes, this could be just a start-up glitch and once you reboot the Mavic Pro again, you would be able to calibrate Mavic Pro.
Solution 1: Restart the aircraft.
As I mentioned above, this could be just an IMU startup issue. So restart the aircraft and check whether the Mavic Pro is calibrating.
Solution 2: Satisfy requirements for IMU Calibration.
- Charge the Mavic Pro battery above 50%.
- Perform the IMU calibration on a flat surface.
- Calibrate the IMU in an open place away from metal, electronics, or other ferromagnetic devices.
Solution 3: Replace the Mavic Pro IMU.
- Unscrew the Mavic Pro bottom cover.
- Use a credit card or plastic card and run it under the bottom cover to separate the bottom cover.
- Then remove the bottom cover.
- Now we need to remove the first layer circuit to access the IMU. Disconnect all the ribbons connect to the circuit.
- Then unscrew the first layer circuit.
- Take out the first layer circuit.
- Now you would see the IMU sitting at the bottom of the circuit.
- Pull from the corners of the IMU and take it out. Then disconnect it ribbon cable from the circuit.
- Connect the new IMU ribbon cable to that place and install the new IMU to the place where the old IMU was.
- Install the first layer back into the drone.
- Then connect all the ribbons that were disconnected before.
- Finally, install the bottom cover of the drone.
Problem 3: DJI Mavic Pro won’t turn on/ charge.
Most of the time, DJI Mavic Pro won’t turn on and the battery won’t charge when the battery has gone into hibernation or battery is dead. DJI Mavic Pro intelligent battery could go into hibernation to save the battery once the battery is discharged to a certain limit.
Read the complete article: DJI Mavic Pro Battery Not Charging Or Working
If you left or stored the Mavic Pro battery for a long period of time, it would go into hibernation to save battery cells from completely discharging.
Solution 1: Wake the battery from hibernation.
- Power on the battery and leave the battery unattended for 5 minutes. Then the power LED would turn off.
- Then recharge the battery and bring it out from hibernation mode.
Solution 2: Clear PF flags of the battery management system.
Many DJI Mavic Pro users were able to recover the battery and fix the issue after clearing the PF flags of the battery management system. So I definitely hope this would help with troubleshooting your issue.
For this step you need,
- BQ Studio software.
- EV2300 EVM interface board (Buy on Aliexpress).
- Uncover the Mavic Pro battery shell.
- And take out the board covering the BMS (battery management system) of the battery.
- Now you would see all the metallic connecting points (SCL, SDA, PRES-M, GND, V1, V2, V3, etc). From these, we need SCL, SDA, and GND)
- When inspecting the EV2300 interface board, you would see ports named SMBD, SMBC, and GND. Now we need to connect them by soldering connection cables connected to those ports to the Mavic Pro’s BMS (battery management system).
Make sure to connect the EV2300 ports with the correct Mavic Pros battery’s BMS port.
- SMBC -> SCL
- SMBD -> SDA
- GND -> GND
- Download and install the BQ Studio.
- Connect the EV2300 to the PC and open the BQ Studio application. If nothing is shown tap the “Refresh” button.
- Go to the “Seal Auth” tab and unseal the battery by selecting the “Unseal” option and pressing the “Go” button.
- Go back to the SBS tab and hit “Refresh”. Now you’ll see the permanent failure flag in IT status.
- Go to the “Pro” tab and type word 0024 at the SMB command 00. Then hit “write”. (Read all about BQ Studio and commands)
- Go back to the SBS tab and hit “Refresh”. But still, the PF flag would stay active.
- Go back to the “Pro” tab and type word 0029 at the SMB command 00. Then hit “write”. (Read all about BQ Studio and commands)
- Go back to the SBS tab and hit “Refresh”. Now you’ll see the PF flag (Permanent failure) has cleared.
- Go to the “Seal Auth” tab and select “Seal”. Then click the “Go” button.
- Now the battery issue is fixed and you just have to unplug connected wires from EV2300 and set up carefully the battery as it was.
- Connect the battery to the charger and charge the battery fully and enjoy it.
Problem 4: DJI Mavic pro is not stable.
In most cases, DJI Mavic Pro is not hovering one place and keeps drifting when the IMU (Inertial Measurement Unit) is not calibrated well or the propellers are damaged. Also, DJI Mavic Pro users would experience unstable flight if a sufficient number of satellites aren’t connected to the aircraft.
Read the complete article: DJI Mavic Pro Not Stable And Keeps Drifting
Solution 1: Inspect propellers.
If some Mavic Pro propellers are cracked, bent, or damaged it would unstable the drone.
- Take a propeller and run it through your fingers and feel whether there are some cracks or bents on the propellers.
- If you found that some propellers are damaged, replace the existing propeller set with a new Mavic Pro propeller set.
Solution 2: Calibrate Mavic Pro IMU.
- Place the DJI Mavic Pro on a flat surface.
- Power on the aircraft while its arms closed in.
- Open the DJI GO 4 app and connect to the aircraft.
- Then click on the three dots at the top right corner. Then click on the drone icon go to Main Controller Settings > Advanced Settings > Sensors > IMU and hit the “Calibrate IMU” button.
- Once the above steps are done, the IMU calibration process would start. You need to place the drone in different poses to calibrate IMU.
- Start with the Mavic Pro on its belly and wait until the IMU is calibrated in that pose.
- Next, move the aircraft onto its right side and wait until the IMU is calibrated in that position.
- Then change the Mavic Pro over to the left side and wait until the IMU is calibrated in that position.
- Then Stand the Mavic pro on its back ends and wait until the IMU is calibrated in that position.
- Then turn the drone upside down and wait until the calibration process goes to 100%.
Problem 5: DJI Mavic Pro won’t take off.
In most cases, DJI Mavic Pro won’t take off because of improper propeller installation. In order to function the aircraft properly you need to install them according to the pattern. If you install them arbitrarily the drone won’t take off or would flip to the side.
Solution: Install propellers in the proper pattern.
- You find there are two types of propellers in the propeller set.
- One propeller pair has marks on it and others don’t.
- Install the propellers with marks on the mounting bases with marks. And rotate clockwise to lock them.
- Install other propellers that don’t have marks to mounting bases that have no marks. And rotate anti-clockwise to lock them.
Problem 6: DJI Mavic Pro keeps disconnecting.
When talking about DJI Mavic Pro disconnection issues, there are two types of disconnecting scenarios for the DJI Mavic Pro.
Scenario 1: If you are getting a black screen on the DJI GO app and you are getting “No signal error”, but you are still able to control the aircraft through the remote controller, that means the remote controller has disconnected from the phone. This is caused by a damaged faulty USB-C cable that connects the phone to the remote controller.
Scenario 2: If your DJI Mavic Pro remote controller status is showing “Connecting..” that means the remote controller has disconnected from the aircraft. This is usually caused by low battery power, poor Wifi settings, and environmental interference.
Read the complete article: DJI Mavic Pro Keeps Disconnecting
Solution (For Scenario 1): Replace the USB cable and connect it to under USB port.
As I mentioned above, scenario 1 is caused by USB port and cable issues.
- Replace the current USB cable with a strong USB cable.
- Connect the USB cable to the USB port under the remote controller.
Solution 1 (For Scenario 2): Make sure batteries are on a sufficient level of charge.
Battery power is definitely a key factor in the strength of the connection between the aircraft and the controller. So the aircraft and controller batteries need to charge fully or to a sufficient level before the flight.
Solution 2 (For Scenario 2): Set up Wifi settings to minimize interference.
- Connect the remote controller to the phone.
- Power on the aircraft and controller.
- Then open the DJI Go4 app and enter the camera view.
- Tap on the three dots at the right top corner and tap on the wifi icon on the list.
- Now you will see the frequency spectrum on the screen. You’ll see stable channels in green, current channels in blue and unstable channels in red. All the channels below 100 are 2.4Ghz and above 100 are 5Ghz.
- Choose the “custom” option in the selection.
- Then scroll down and choose a channel index with stable quality.
- Then tap Ok.
Problem 7: DJI Mavic Pro remote controller keeps beeping.
In most cases, DJI Mavic Pro remote controller keeps beeping when the remote controller sticks and the gimbal wheel requires calibration. Often DJI Mavic users get confused about the beeping because in this situation there is no clue why it is beeping continuously.
Solution: Calibrate the remote controller.
- Connect the remote controller to the phone and launch the DJI GO4 app.
- Enter the camera view and tap on the three dots at the right top corner.
- Then tap on the RC icon and enter the controller settings menu.
- Then tap Remote Controller Calibration.
- Keep controller sticks at the center and “Start”.
- Use controller sticks and follow hollow circles moving in the box. Use the left stick to follow the left box circle and the right stick for the right box circle.
- Follow them completely around the box.
- After calibrating the joysticks, turn the gimbal wheel to both sides.
- Then click “Yes”.
Problem 8: DJI Mavic Pro app not working (DJI GO app).
Most of the time, the DJI Mavic Pro app which is the DJI GO app not work and keeps crashing when the user has installed the DJI GO app from different sources. Most Android users face this situation after installing the DJI GO 4 app from Playstore. Because most of the time, the DJI GO 4 app on the Playstore is faulty. It’s fine for IOS users to install the app from Appstore. If you are an Android user you should definitely download it from the DJI Download center.
Read the complete article: DJI App Not Working And Responding (Why, How to Fix)
Solution: Download and install the DJI GO4 app from the DJI Download center.
- First, uninstall the currently installed DJI GO 4 app version from the device. This would clear app data and cache data.
- Visit the DJI Downloads center using your mobile device.
- Choose DJI GO 4 app. Then you’ll be directed to the app’s download page.
If you are an IOS user,
- Tap on the IOS icon and the app would be open in Appstore. Tap on the “GET” button and install the app.
If you are an Android user,
- Tap on the Android icon and the apk file would be downloaded to the mobiles downloads directory. Once it is downloaded visit your downloads directory and click on the downloaded file. Then follow the simple steps prompted by the device and install the app.
Problem 9: DJI Mavic pro GPS not working.
In most cases, DJI Mavic Pro gets the GPS error and the GPS not working because of the faulty GPS module. Users were able to fix the GPS error after replacing the GPS module with a new GPS module bought online.
Solution: Replace the GPS module.
- Take the battery out and unscrew the top part of the Mavic Pro.
- Then disconnect the cable that connects the top part to the circuit.
- Then take the top part of the drone.
- Unscrew and remove the metal cover to access the GPS module.
- Then take the whole GPS module out.
- Install the new Mavic Pro GPS module to the place where the GPS module was sitting.
- Install the metal cover back into the drone.
- Then connect the GPS module cable back to the drone circuit.
- Then install the top part back into the drone.